Getting Started with LinoRobot2 Navigation Simulation using Docker 🐳
This article simply captures the steps I took to run a simulated LinoRobot ROS2 navigation stack within an isolated Docker image.
Why Read This?
Steps
1. Download the latest docker image containing the RMF demos:
docker pull ghcr.io/open-rmf/rmf/rmf_demos:latest
To be changed.
2. Rename the docker image to rmf:latest:
docker tag ghcr.io/open-rmf/rmf/rmf_demos:latest rmf:latest
3. Enable Graphic User Interface access for docker:
xhost +local:docker
Note that this command runs a security risk and should not be used as an official deployment. For the context of research and learning, this command should be okay.
4. Create a docker container from the docker image downloaded:
docker run -it --rm \
 --name ros2_linorobot2_gazebo \
 --runtime=nvidia \
 -e DISPLAY=$DISPLAY \
 -v /tmp/.X11-unix:/tmp/.X11-unix \
 --net=host \
 --ipc host \
 rmf:latest /bin/bash
5. Set up a ROS 2 workspace:
cd /
mkdir -p linorobot2_ws/src && cd linorobot2_ws/src
git clone -b humble https://github.com/linorobot/linorobot2 --single-branch --depth 1
6. Build the ROS 2 workspace:
cd /linorobot2_ws
rosdep update && rosdep install --from-path src --ignore-src -y --skip-keys microxrcedds_agent --skip-keys micro_ros_agent
colcon build
7. Set up Gazebo models:
cd /linorobot2_ws
mkdir -p .gazebo/models
cd /linorobot2_ws/.gazebo
git clone https://github.com/osrf/gazebo_models.git models --depth 1 --single-branch --branch master
cd /linorobot2_ws/.gazebo/models && rm -r .git README.md .gitignore CMakeLists.txt LICENSE check_install.bash database.config.in manifest.xml.in
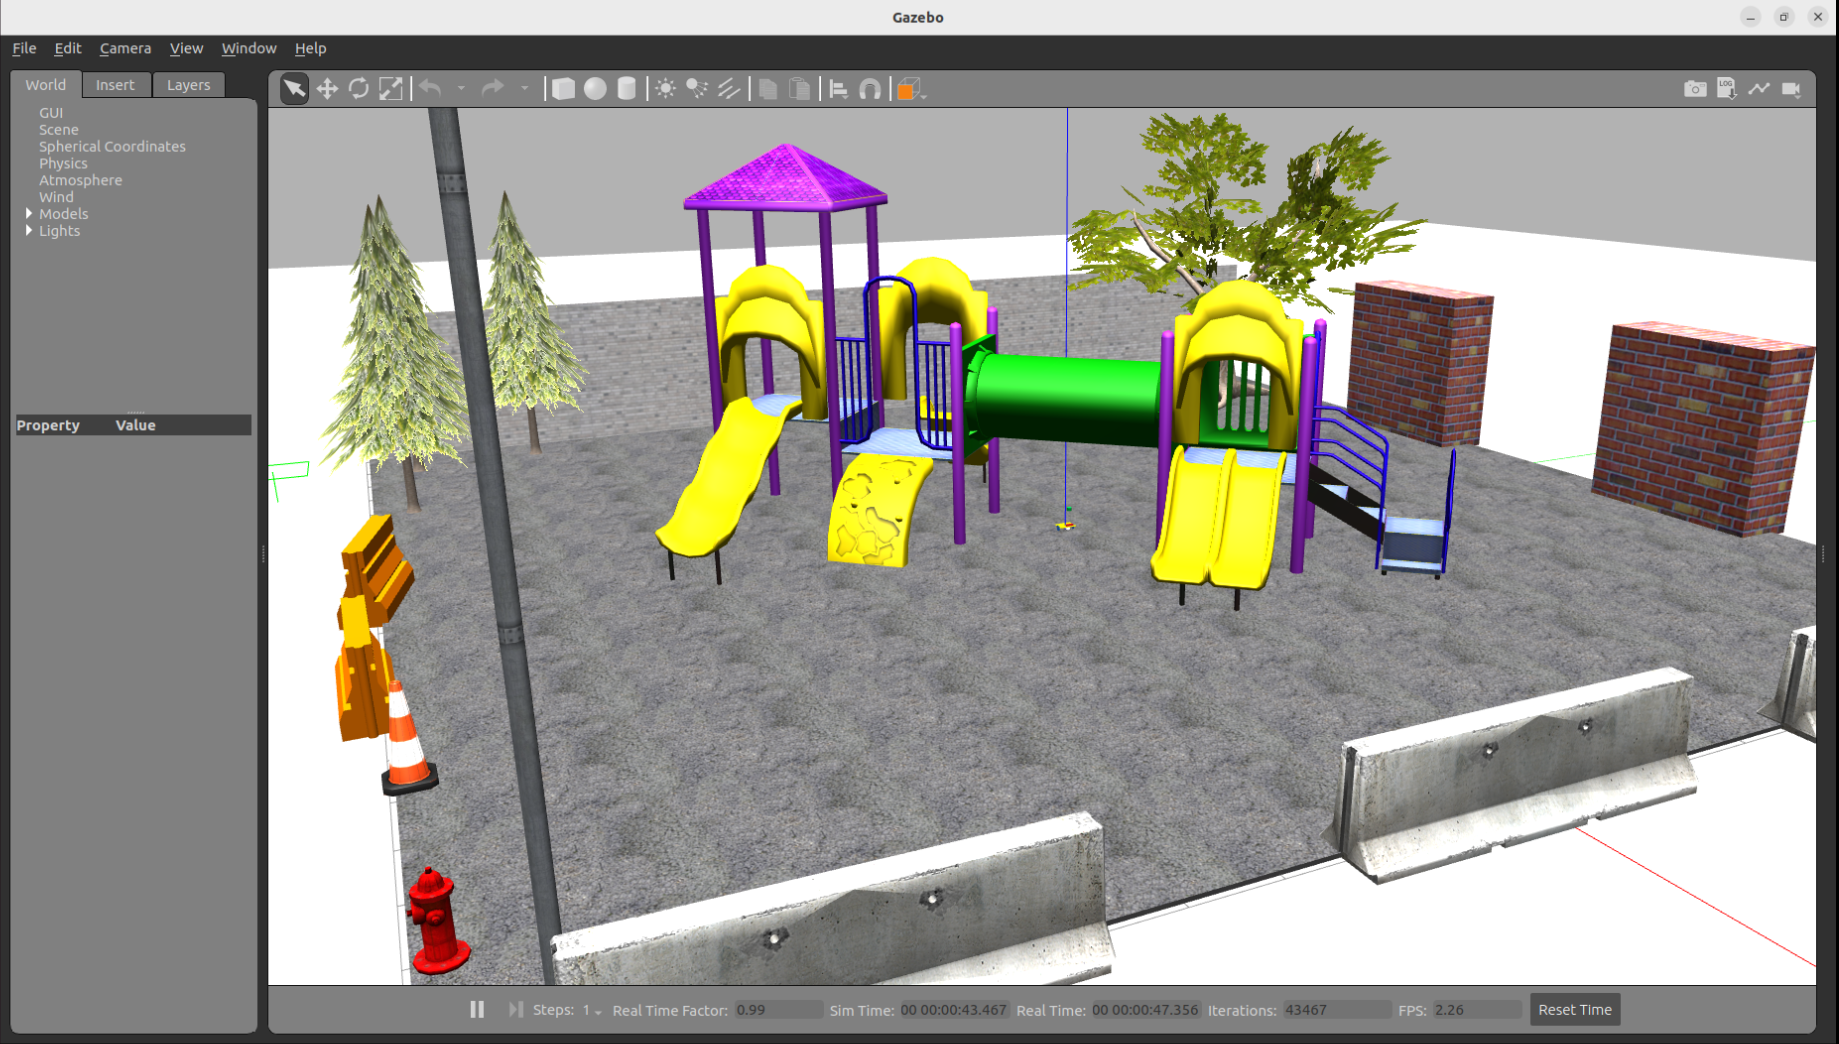
8. Launch the Gazebo Simulation:
cd /linorobot2_ws
export GAZEBO_MODEL_PATH=/linorobot2_ws/.gazebo/models:
source /usr/share/gazebo/setup.bash
source /linorobot2_ws/install/setup.bash
export LINOROBOT2_BASE=2wd
export GAZEBO_MDOEL_PATH=/root/linorobot_ws/.gazebo/models:
source install/setup.bash
ros2 launch linorobot2_gazebo gazebo.launch.py
8. Launch the SLAM Simulation to start generate the map in a new terminal:
docker exec -it ros2_turtlebot3_gazebo bash
source /linorobot2_ws/install/setup.bash
export LINOROBOT2_BASE=2wd
ros2 launch linorobot2_navigation slam.launch.py rviz:=true sim:=true
9. Run teleop_twist_keyboard to start moving the virtual LinoRobot2 around on the map to populate the map in a new terminal:
docker exec -it ros2_linorobot2_gazebo bash
source /linorobot2_ws/install/setup.bash
export LINOROBOT2_BASE=2wd
ros2 run teleop_twist_keyboard teleop_twist_keyboard
10. Save the map by running the commands in a new terminal:
docker exec -it ros2_linorobot2_gazebo bash
source /ros_entrypoint.sh
ros2 run nav2_map_server map_saver_cli -f playground_selfmade --ros-args -p save_map_timeout:=10000.
11. Launch the Navigation Simulation to start allowing the robot to navigate autonomously in a new terminal:
docker exec -it ros2_linorobot2_gazebo bash
source /linorobot2_ws/install/setup.bash
export LINOROBOT2_BASE=2wd
ros2 launch linorobot2_navigation navigation.launch.py rviz:=true sim:=true
Verify ✅
After completing all aformentioned steps, you should see something similar on your screen like what is shown below:
When sending a Nav2 Goal request via RViz, you should see the following:
The virtual linorobot2 should then start navigating to the new destination in Gazebo: