Difference between Dockerfile and docker compose 🐳
- When To Use What?
- Example using
Dockerfile- 1. Download codebase for app:
- 2. Navigate into the application source code and create a
Dockerfile: - 3. Copy and paste the following content into
Dockerfile: - 4. Build the docker image with the app automatically integrated into the Docker image:
- 5. Run the docker image as a container:
- 6. Access your TODO application via your browser at:
- Verify
- Example using
docker compose - References
Dockerfile and docker compose are two different tools used in building and managing Docker containers.
A Dockerfile is a script that contains instructions on how to build a Docker image. It specifies the base image to use, the dependencies to install, and any custom configurations or settings to be applied. Once the Dockerfile is created, you can use the docker build command to build the Docker image.
docker compose, on the other hand, is a tool for defining and running multi-container Docker applications. It uses a .yml file to define the services, networks, and volumes used by the application, and the configuration options for each service. With docker compose, you can start, stop, and manage all the services defined in the .yml file with a single command.
When To Use What?
Generally speaking, if you want to create a single Docker container, you would use a Dockerfile. If you have a complex application that consists of multiple containers and services, you would use docker compose. docker compose makes it easier to manage and organize complex applications, as you can define all the services in one place, and start and stop all of them at once.
Example using Dockerfile
Here is an example that defines and runs a dockerized TODO management application.
This application uses only 1 docker container.
1. Download codebase for app:
# Open new terminal
git clone https://github.com/docker/getting-started.git --depth 1
This creates a folder called getting-started.
2. Navigate into the application source code and create a Dockerfile:
cd getting-started/app && touch Dockerfile
3. Copy and paste the following content into Dockerfile:
FROM node:18-alpine
WORKDIR /app
COPY . .
RUN yarn install --production
CMD ["node", "src/index.js"]
EXPOSE 3000
Note that in CMD, it copies the application source code into Docker volume.
4. Build the docker image with the app automatically integrated into the Docker image:
docker build -t getting-started .
5. Run the docker image as a container:
docker run -p 3000:3000 getting-started
6. Access your TODO application via your browser at:
Verify
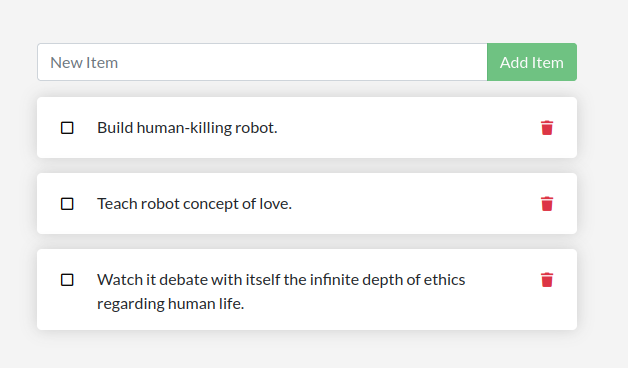
The Dockerfile example is verified to be working correctly if you access the aforementioned URL and see the following web interface:
![]()
If you started using, it should look like something similar to what is shown below:
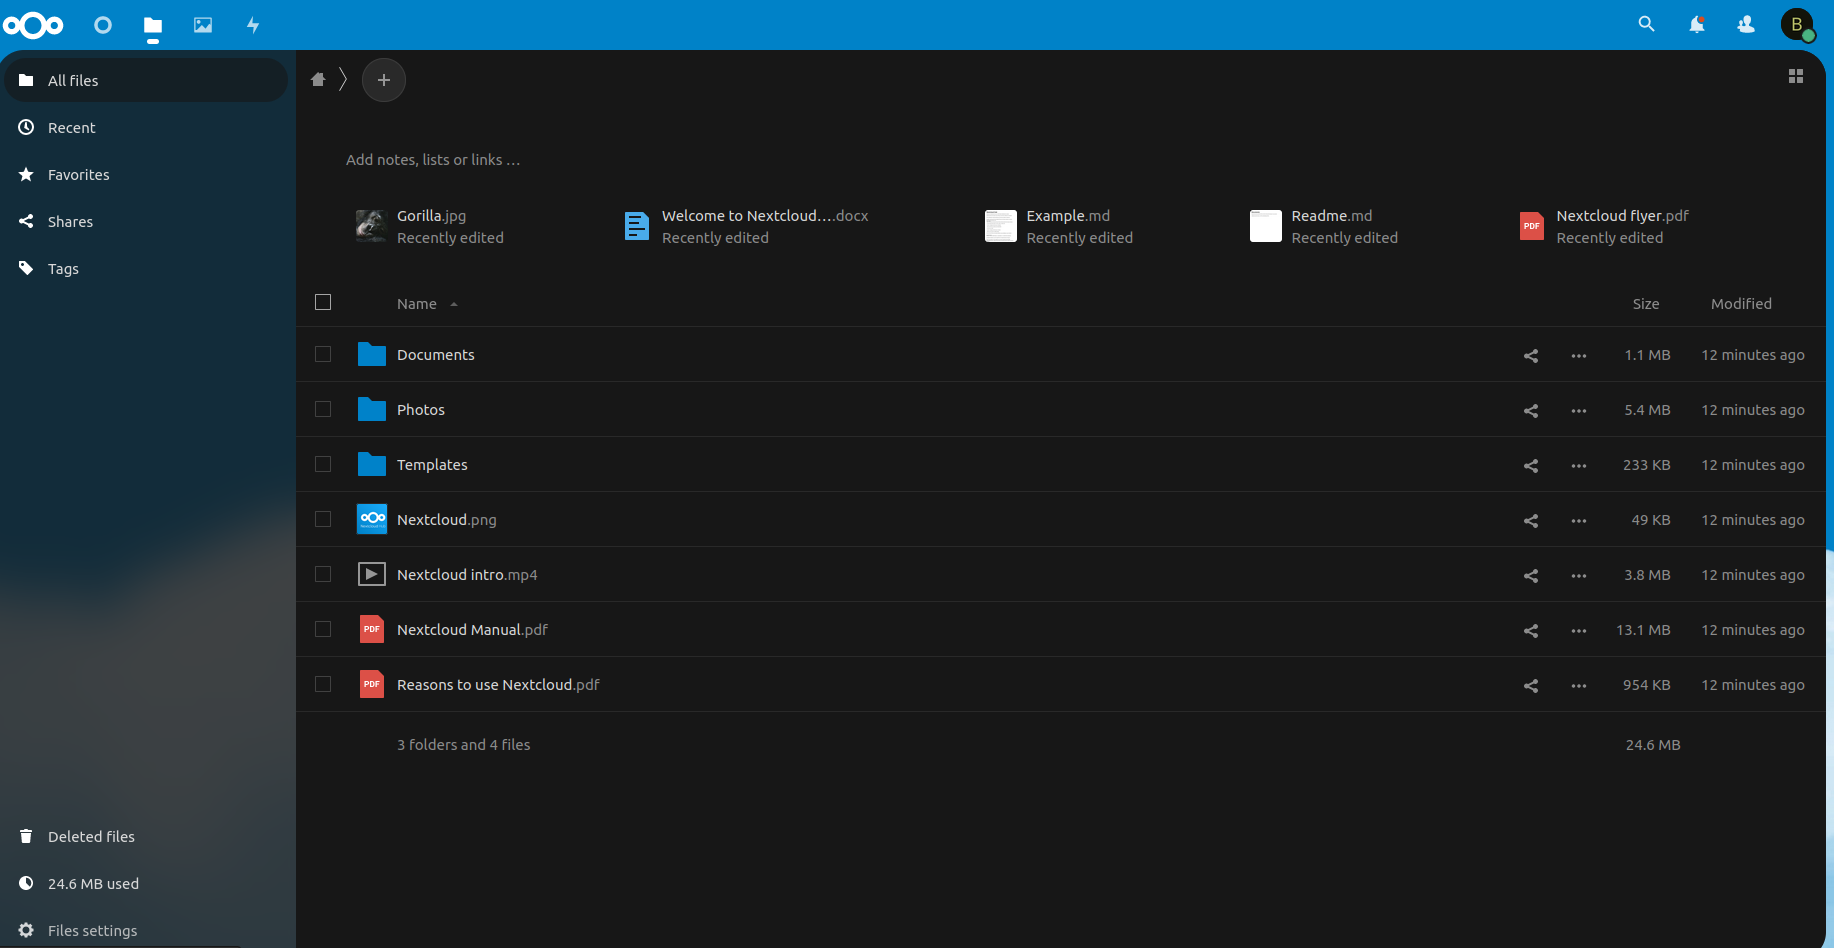
Example using docker compose
Here is an example that sets up your own home “Google Drive” cloud server web application via NextCloud.
This application uses 3 docker containers.
1. Download the example application’s compose.yaml file:
wget https://github.com/docker/awesome-compose/raw/master/nextcloud-redis-mariadb/compose.yaml
It creates a nc Docker container that is based on nextcloud:apache Docker image, a redis Docker container that is based on redis:alpine Docker image and a db that is based on mariadb:10.5 Docker image. These 3 containers interact with one another to allow our home NextCloud server to work.
2. Run the application in the same folder as compose.yaml:
# Open new terminal
docker compose up
3. Access your NextCloud server via your browser:
Verify
The docker compose example is verified to be working correctly if you access the aforementioned URL and see the following NextCloud web interface:

If you install NextCloud application within the docker container as volumes, you should be able to start using it like Google Drive but without the data limit: